
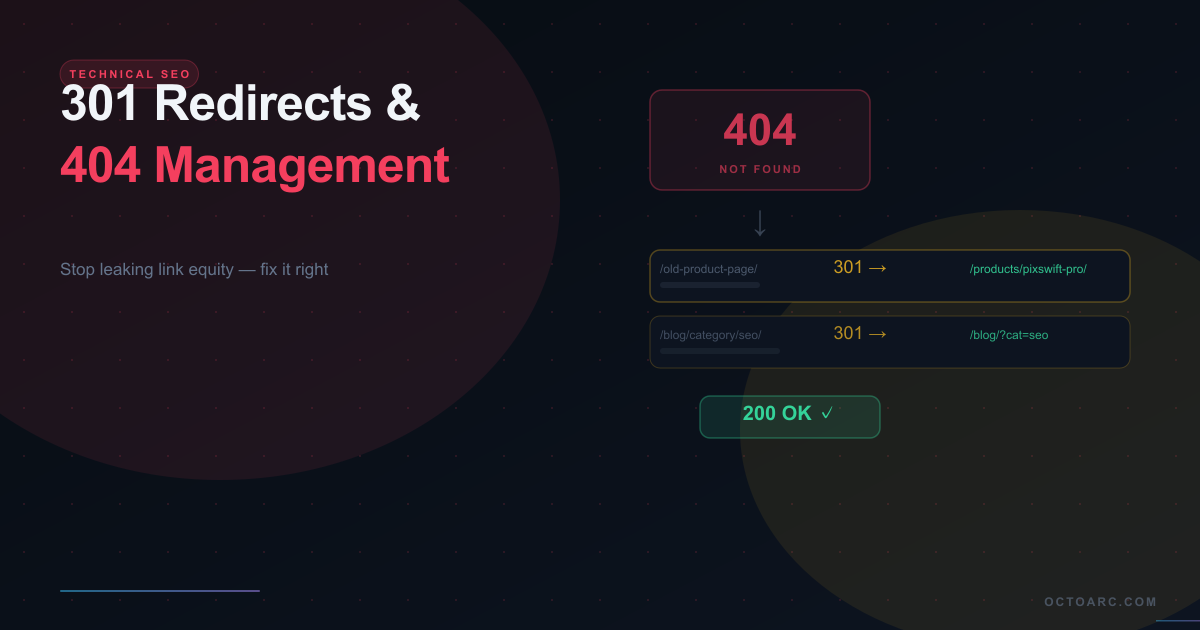
Every WordPress site accumulates technical SEO debt over time. Old posts get deleted. URLs change. Categories get restructured. Product slugs get renamed. Each of these changes, without a corresponding redirect, creates a 404 error — a dead end that costs you link equity, wastes Google's crawl budget, and sends real users into a dead end. At scale, unmanaged 404s are one of the most reliable predictors of declining organic traffic.
HTTP Status Codes — What WordPress Developers Need to Know
200 OK
A 200 response means the requested URL exists and returned content successfully. This is what you want for all live, indexed pages.
301 Moved Permanently
A 301 redirect tells both browsers and search engines that a URL has permanently moved to a new location. Google transfers the original URL's PageRank (link equity) to the destination URL — not instantly, but typically within a few crawl cycles. Use 301 for: changed post slugs, deleted pages with a logical replacement, domain migrations, consolidating duplicate content, and HTTP to HTTPS redirects.
302 Found (Temporary Redirect)
A 302 redirect tells browsers to go to a new URL but tells search engines not to transfer link equity because the move is temporary. Google keeps the original URL in its index. Use 302 for: A/B testing pages, temporary maintenance pages, promotional landing pages that will revert, and holiday redirects that run for a limited period. Never use 302 when you mean 301 — it is a common mistake that prevents PageRank transfer and leaves the original URL in Google's index.
307 Temporary Redirect
307 is similar to 302 but explicitly preserves the HTTP method of the original request. For GET requests (which is most web traffic), 307 and 302 behave identically. 307 is important for API endpoints where the method (POST, PUT, DELETE) must be preserved through the redirect. In WordPress, 307 is rarely needed for standard page redirects.
410 Gone
A 410 response tells search engines that a URL has been permanently removed and will not be replaced. Unlike a 404 (which Google may keep in its index and retry), a 410 signals Google to remove the URL from its index immediately. Use 410 for: deleted pages with no replacement, spam pages you want permanently deindexed, and outdated content you want removed from search results. Most WordPress redirect plugins support 410 responses but it requires manual selection.
Why 404 Errors Hurt Your WordPress SEO
A 404 error on a URL that previously had backlinks is a direct loss of link equity. Any link from another site pointing to your old URL is now pointing to a dead end — the PageRank that link was transferring evaporates. Google's Googlebots also have a crawl budget for each site — a limited number of pages they crawl per day. A site with hundreds of 404 errors wastes a significant portion of that budget on dead URLs instead of discovering and indexing new content.
Beyond pure SEO impact, 404s create a poor user experience. A user clicking an old link in a Google search result or from an external site hits a dead end, sees an error page, and typically bounces. This increases your site's bounce rate from non-indexed sources and generates negative engagement signals.
How to Audit Your WordPress 404 Errors
There are four primary sources for your site's 404 error data:
- Google Search Console — Coverage report, Excluded tab, "Not found (404)" category. This shows only URLs Google tried to crawl, not all 404s.
- Server access logs — Your hosting control panel provides raw access logs with all HTTP status codes. Filter for 404 responses.
- WordPress 404 log plugin — A plugin like Trieo logs every 404 request in real time, including the referring URL and user agent, making it easy to prioritize fixes.
- Screaming Frog or Sitebulb — Crawl your site and all external links to find 404s comprehensively.
Prioritizing Which 404s to Fix First
Not all 404s are equal. Prioritize redirects in this order:
- 404s with inbound backlinks — these are bleeding link equity right now. Find them by cross-referencing your 404 log with Ahrefs, Semrush, or Google Search Console backlink data.
- 404s with significant historical traffic — pages that previously ranked and received clicks before they were deleted or moved.
- 404s referenced from your own internal links — these waste crawl budget and break user navigation.
- 404s from external sites referring significant traffic — check your analytics for 404 pages that have referral traffic from other sites.
Implementing Redirects in WordPress
Option A — .htaccess Redirects (Apache)
WordPress on Apache hosting uses an .htaccess file that can contain redirect rules. A simple 301 redirect looks like: "Redirect 301 /old-page/ https://example.com/new-page/". These are processed at the server level before WordPress even loads, making them the fastest possible redirect. However, editing .htaccess directly risks breaking your WordPress installation if a syntax error is introduced, and it requires server access to manage.
Option B — WordPress Plugin Redirect Manager
A plugin-based redirect manager stores redirect rules in the WordPress database and processes them via a WordPress hook (typically the template_redirect action). This is slightly slower than .htaccess redirects (WordPress must bootstrap before the redirect fires) but provides a user-friendly management interface, import/export via CSV, redirect grouping, and 404 log integration. For most WordPress sites, the performance difference is negligible (under 5ms) and the management benefits are significant.
When choosing a redirect plugin, look for: support for 301, 302, 307, and 410 response codes; CSV import for bulk redirect creation; regex pattern matching for URL groups; integrated 404 log with direct "create redirect" action from each 404 entry; and clean database storage that does not degrade performance with thousands of rules.
Redirect Chains and How to Avoid Them
A redirect chain occurs when URL A redirects to URL B which redirects to URL C. Each hop in a chain adds latency (typically 50–200ms per hop) and reduces the proportion of PageRank that is passed through. Google's crawlers follow redirect chains of up to 5 hops but transfer progressively less link equity through each additional hop. Best practice is to ensure all redirects resolve directly to the final URL in a single hop. When you redirect a page that was itself a redirect, update the original redirect rule to point directly to the final destination.
WordPress-Specific Redirect Scenarios
Post Slug Changes
When you change a post's permalink slug in WordPress, WordPress does NOT automatically create a redirect from the old URL to the new one. It simply changes where the post is accessible. Any inbound links or indexed URLs pointing to the old slug immediately become 404s. Always manually add a 301 redirect from the old slug to the new slug whenever you change a published post's permalink.
Category Restructuring
Renaming or restructuring WordPress categories changes the URLs of all posts in those categories (if your permalink structure includes the category). This can create hundreds of 404s simultaneously. Before restructuring categories, export your current URL list, then create bulk redirects from old category URLs to new ones using CSV import in your redirect plugin.
Domain Migrations
Moving WordPress from one domain to another — or from HTTP to HTTPS — requires site-wide 301 redirects. For HTTPS migration, Certbot and most hosting control panels can configure this at the server level. For domain changes, update your WordPress site URL settings first, then add a catch-all redirect from the old domain to the new one. Monitor Google Search Console for 6–12 months post-migration as Google processes the domain change.
Final Checklist: Redirect and 404 Management for WordPress
- Set up a 404 log plugin to capture all future 404 errors with referring URL
- Audit Google Search Console Coverage report monthly for new 404s from Googlebot
- Cross-reference top 404s with backlink profile — prioritize any with inbound links
- Create a 301 redirect before or immediately after changing any published post slug
- Use 302 only for temporary redirects — use 301 for all permanent changes
- Audit redirect chains quarterly — flatten any A→B→C chains to direct A→C redirects
- Use 410 for deleted pages with no replacement to signal Google for rapid deindexing